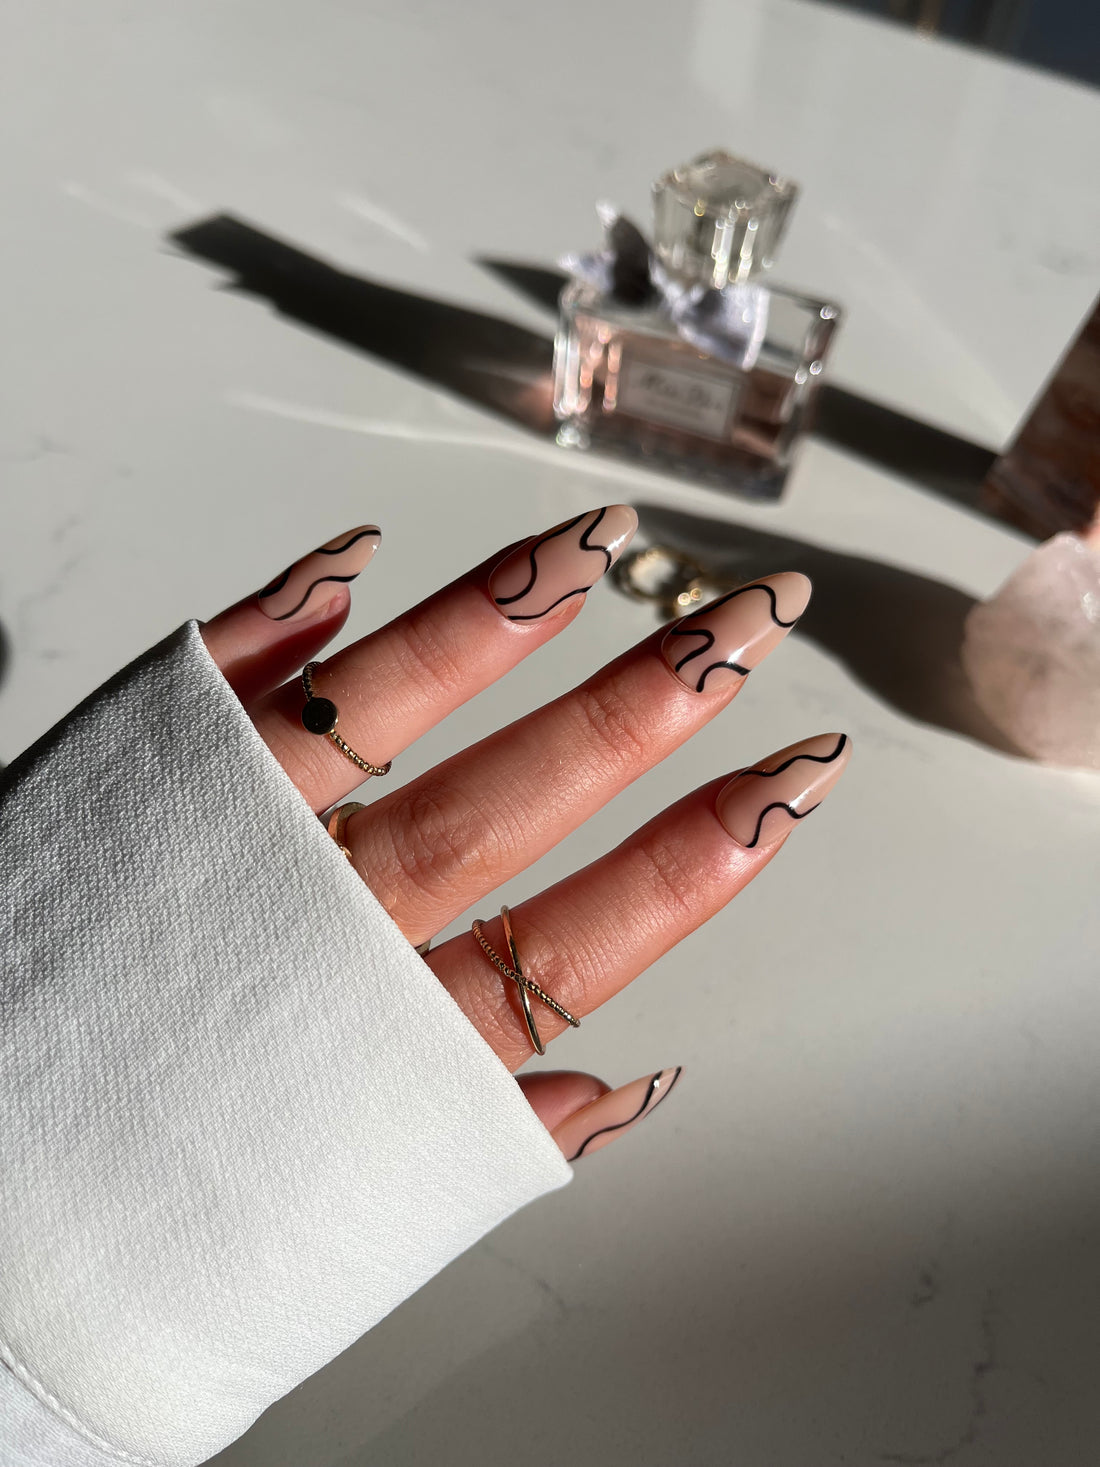
Achieve Nail Perfection: A Step-by-Step Guide to Applying Luxury Custom Press-On Nails
Share
Nail art has evolved from a mere beauty trend to a form of self-expression and empowerment. Luxury custom press-on nails have taken the beauty world by storm, offering a convenient and stylish alternative to traditional manicures. In this blog post, we will guide you through the process of applying your luxury custom press-on nails flawlessly, ensuring they look as stunning as if done by a professional nail artist.
1. Firstly, using the mini nail file, file or trim your natural nails down
short if they aren't already.
2. Carefully push back your cuticles, if you feel confident then you
may want to use cuticle nippers.
3. Thirdly, with the mini nail buffer, buff over your natural nails. This
makes the fake nails adhere better.
4. Use the alcohol prep wipes to remove any natural oils or dust from
buffing your nails.
5. Apply the nail glue to either the fake nails or your natural nail.
6. When applying the press on nails, apply at a downward angle.
Starting at your cuticle.
7. After applying avoid submerging your nails in water for 24 hours
Luxury custom press-on nails are a fantastic way to achieve salon-quality results without leaving your home. By following this step-by-step guide, you can apply your custom press-ons with ease and confidence, turning your nails into a canvas for self-expression and individuality. So, unleash your creativity and enjoy your beautiful, long-lasting custom manicure!
